As you know I’m sharing my food photography pictures on Instagram as well as on my blog. Some people ask me why I’m sharing my pictures on Instagram as well. The main reason is to improve my food photography skills. To learn from others and to share my experience and to get experiences back from other food photographer.
Social media is a good place to interchange.
To be honest. Working as a food blogger in your free time means to focus on your favourite tasks. Otherwise you can burn yourself out really fast. Food blogging is such a big field where you can work hours and hours to get more follower and traffic on your page. Everybody need to find his real passion in this niche. Mine is taking pictures. Not getting more and more follower.
I like to share a little bit of my food photography journey as well as my recipe today. I won’t go into the details. This is only an idea how my journey has been.

Food photography
Food photography is a big part of my life and I’m always really thankful to find time for it. I’m only taking pictures when I’m sure I have no other obligations during the day to focus myself completely. It’s a kind of creativity and silence for me. Something where I can stop thinking.
Some of you follow me since I started my blog or my Instagram account 1,5 years ago. As you can see in my pictures my results getting better and better. To be honest. I invested a lot of time and patience to learn how to take good pictures. Why? Because I love taking pictures. I love to look at stunning food photography and I love to realize I can do it as well.
Example 1: Turmeric cashew smoothie with lemon
One of my very first pictures was my turmeric cashew smoothie with lemon.

As you can see this picture isn’t really clear. Ist blurred.
It is overexposed and the props are really simple. But when I shot it I was so proud of it. Haha.

I took this shot a few days ago with my new skills. My new lense and I edited it in Lightroom. This picture has a nice depth of Focus and the probs are so lovely. It isn’t too loud. As you can see it looks much more professional in total. But it takes 1 year to learn how to shot it.
Inspirations
First of all I got a lot of inspirations from other cook book authors, bloggers and Instagramer. I always have a look and think about which kind of food photography I prefer. I read a lot. I bought books to learn how to start. I could tell you in detail how I improve my skills. But it’s so much better to have a book on hand and learn it step by step.
My German recommendations for good books: Food-Fotografie: Leckere Bildrezepte für Einsteiger and Food-Fotografie – Essen perfekt in Szene setzen (Digital fotografieren)
Natural light & Props
I started using natural light early because I read it everywhere! Natural light is one of the most important things to follow in taking good food pictures. I didn’t use man props like napkins, towels or different cutlery in the beginning. My first pictures were really simple. But I was really proud of every single one because I took it. LOL. Later I discovered my pictures looking better and better when I use some props.
Example 2: A simple smoothie in a small jar
Look at the difference between these two smoothie pictures. I didn’t used probs in the first one. It looks so lonely and not inviting. Sad smoothie.

In contrast you feel the athmosphere when you look as this simple banana almond smoothie. I try to avoid too many colors but I added some green in the backround and red from the figs to create a nice view. It fits perfect to the wood I used in that picture. Wooden boards are always a good idea.

Camera Equipment
I started with a good DSLR camera. Maybe this was the reason I had so much fun when I began. You can easily take pictures with your mobile phone as well but trust me the results with a good camera is so important to improve your skills. And when you decide to take pictures in the future and to invest time to learn it, the camera invest is appropriate.
I use a Nikon DS5200 with a 50mm f/1.8D Lens .
Editing program
In the beginning I used a freeware program to edit my picture. It is from google and the name is picassa. You have the possibility to start editing your pictures without buying an expensive program like Lightroom. You can play around and try out how you can edit your picture to make it looks better. One year later I spend all my money and bought an Apple IMAC with Lightroom. I use it 2 month now and it is the best I ever bought. My results are so much better! I’m also really happy to use Dearnas Food Fotography Guides to learn how to take good pictures and how to edit them in Lightroom.
My journey isn’t at the end
I’m sure I can learn so much more about this amazing creative hobby. I’m so happy I discovered my passion of food photography because it’s a place I can turn myself off.
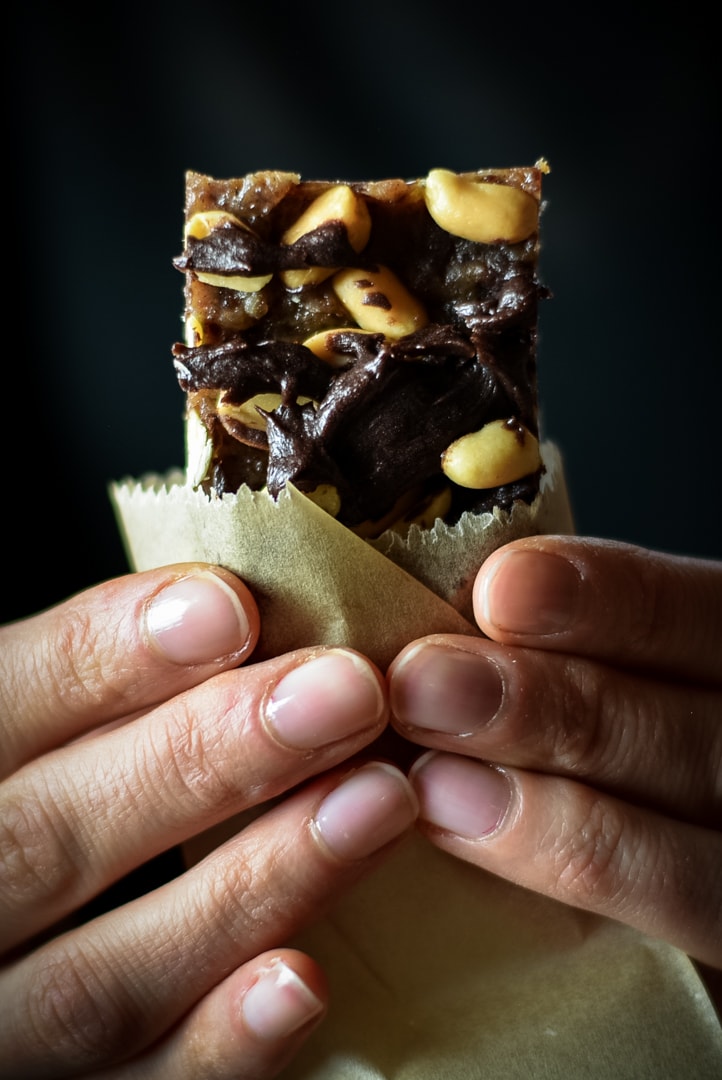
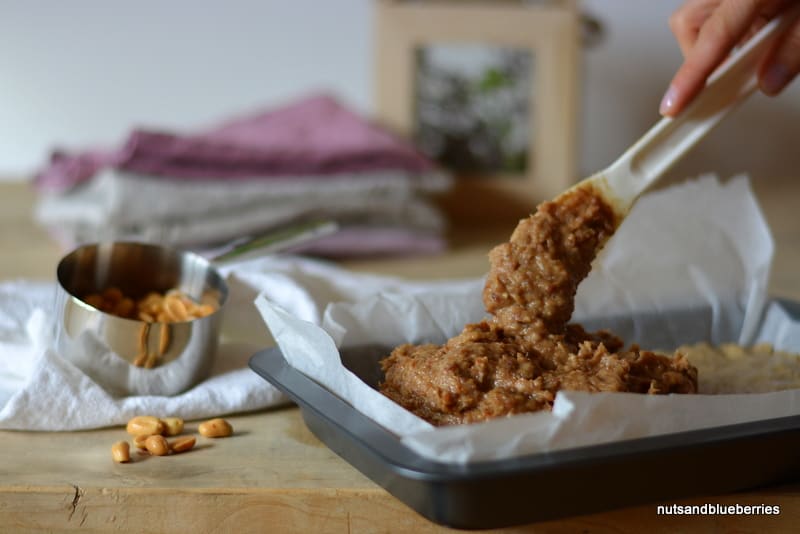
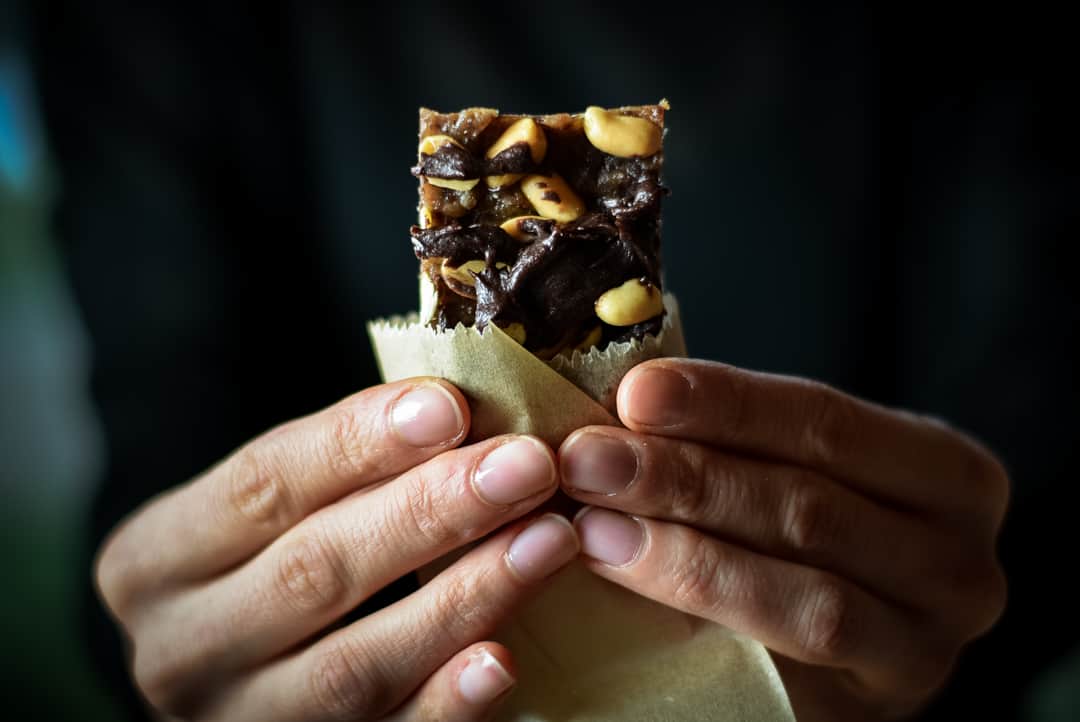
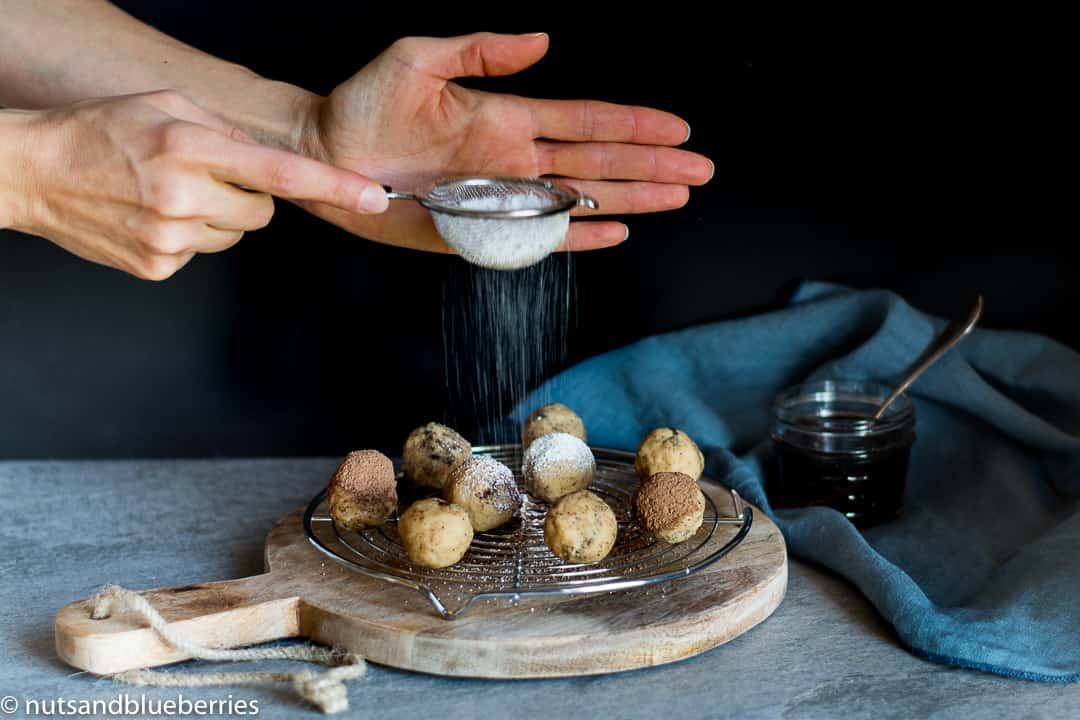
I love to share this recipe today because I’m proud of one of my absolutely first action shots. I watched a guide from Dearnas Food Fotography Guides how to take this kind of pictures. And these balls are really delicious, easy to prepare and healthy. My plan was to make almond butter with peeled almonds. But is don’t works. So I decided to convert the paste into balls.
So let’s go!


- 100g almonds (1 cup)
- 100g desiccated coconut
- 400g medjool dates (2 cups)
- 3 tbsp coconut oil
- 2 tbsp ground vanilla
- 4 tbsp raw cacao powder
- Mix up all ingredients (except the cacao powder) in a food processor.
- Form the paste into balls.
- Sprinkle the balls with cacao powder or icing sugar.
- Enjoy!
Follow my blog with Bloglovin
FAVORITES OF THE WEEK
Marta, a mum, is sharing this easy and healthy Little Polenta Bowl with onions
One of my favorite Bloggers, Sara, creates a Basic recipe for overnight oats and chia seeds!
I just discovered this cute shirt, perfect for cat lovers: Cat Lovers – meaningfulpaws
YOU COULD BE INTERESTED IN THESE POSTS AS WELL
You like to try out a healthy Version of snickers? Here it is: Healthy Hemp Snickers
Everybody loves chocolate! Try out this Nutritious Choclate Mousse
My new disvovery – coconut yoghurt, used in a 2-minutes breakfast bowl